Red Velvet Fudge Pie
This post may contain affiliate links. If you make purchase after clicking a link, I may receive a commission at no extra cost to you.
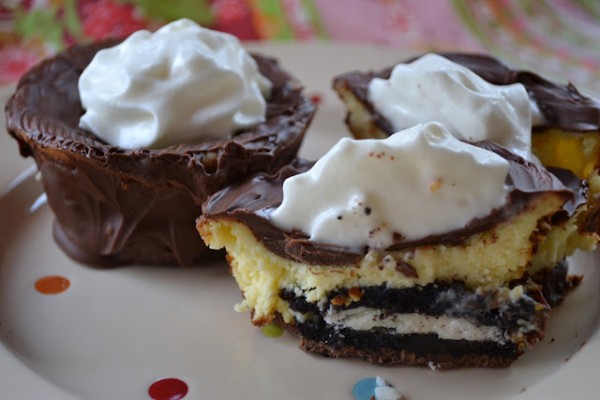
If you’ve never had red velvet pie, you are in for a treat!

Red Velvet Pie
Last week, I was on the local news showing the viewers how to make a rainbow cake among a few other things.
I do these news segments regularly, and always prep well in advance so that I’m not scrambling to get things done at the last minute.
Well, nothing changed with that this time around. It was mid-day on the day before, and I had everything ready to go for the most part, including my rainbow cake. The rainbow cake was shaped like an arc, so I decided to put it in the cold oven for safe keeping.
I have very scandalous kitty cats who would have loved to indulge in a little bit of rainbow tinted frosting from the top of my cake.
I made the point of warning my entire family to not turn on the oven. I warned them all several times. Since I had the warning pushed inside their heads, I just knew my cake would be ok where it was at.
Well, that was until it was time for me to cook dinner – and that warning that I pushed into my family’s heads had somehow escaped my own head.
I preheated the oven, and went about my way to get the dinner components put together. Then, I started smelling smoke. Not good. Right then, it hit me and I screamed!
I flung open the oven door, and my greatest fear had been realized. There was a puddle of rainbow colored icing smoking away in the bottom of my oven, and my cake was not only burned but soggy from the abundance of melted icing running thru it.
I may have cried. But, I’m not going to confirm or deny that one.
My beautiful cake had turned into a tye dyed massacre. And, I was the culprit to blame.
This was 7pm at night, and I had to be up at 6am the next morning to get ready to go on the news. Somehow, I managed to scrape together a new one that night, and still get a few hours of sleep too.
It’s days like this that make me want to sit down and eat a whole pie all by myself.

Good thing I had a Red Velvet Fudge Pie on hand, and thankfully it hadn’t suffered the same fate as my pretty rainbow cake.
And, it definitely hits all the right spots. First off, it’s red velvet! That should need no explanation. But to top it all off, it’s enveloped in a chocolate fudge topping. Oh my.
It’s the perfect cure-all to a bad day. And the perfect ending (or beginning) to a great day. If you love red velvet like we do, you must try my Red Velvet Cookie Cake!
Here’s what you need:

Prep 2 pie dishes with your prepared pie crusts.

Prepare the red velvet cake mix according to the box directions.
Just a little tip, I like to switch out the water it instructs you to add for an equal amount of milk (or even better, buttermilk – oh yeah) & add in an extra egg. It’s a little trick I’ve learned to make your cake mixes taste like homemade.

Pour the cake batter into your prepared pie crusts.

Bake according to the directions on the back of the box for two round cake pans.
Once the cake is done, set on a wire rack to cool slightly.
Meanwhile, prepare the chocolate fudge topping. In a saucepan, combine a stick of butter, 2 cups of semi sweet chocolate chips, & 1 can of sweetened condensed milk. For extra decadence, double these ingredients to make double the amount of chocolate fudge topping!

Cook on medium heat, stirring, until melted and smooth.

Pour the chocolate fudge on top of your red velvet pies – trying to get an even amount on both pies.

Sprinkle the pies with a little bit of extra chocolate chips, if desired.

Allow the pies to cool completely to set up before slicing. If you can bear to wait that long, that is. I won’t blame you if you can’t.
For an extra indulgence, consider piping small dollops of Cream Cheese Frosting before sprinkling the chocolate chips.

- Red Velvet Cookie Cake
- Red Velvet Cheesecake
- Red Velvet Fudge Bars
- Red Velvet Cheesecake Brownies
- Patriotic Ice Cream Cupcakes

Red Velvet Fudge Pie
Ingredients
- 1 box red velvet cake mix plus ingredients needed to make the cake on back of the box
- 1 stick of unsalted butter
- 2 cups of semi-sweet chocolate chips
- 14 oz can sweetened condensed milk
- 2 refrigerated pie crusts or your favorite prepared pie pastry
- extra chocolate chips for garnish optional
Instructions
- Preheat your oven according to the back of the cake mix box directions.
- Prepare the cake mix according to the back of the box. I like to use milk (or buttermilk) instead of the water called for, and add 1 extra egg. I feel it gives a more homemade taste.
- Spray 2 pie dishes with nonstick cooking spray. Line the pie dishes with the pie pastries.
- Pour the cake batter into the prepared pie crusts. Bake according to the instruction on the back of the box for 2 round cake pans.
- Once the cake is done, prepare the chocolate fudge topping. Combine the butter, chocolate chips, & sweetened condensed milk in saucepan. Cook, while stirring, on medium heat until melted & smooth. Pour the chocolate fudge topping on evenly on top of the 2 pies. Garnish with chocolate chips, if desired.
- Allow the pies to cool to set.
- **For some extra decadence, double the chocolate fudge topping.


Can this pie be frozef
Can it be frozen
Yes it can be frozen, but the texture of the cake inside the pie crust may be off just a little.
This looks amazing! May have to be my Valentines Day desert.
“pie dishes” is key! LOL…I use regular pie plates..this really needs deep dish pie plates…I’ll know better next time!